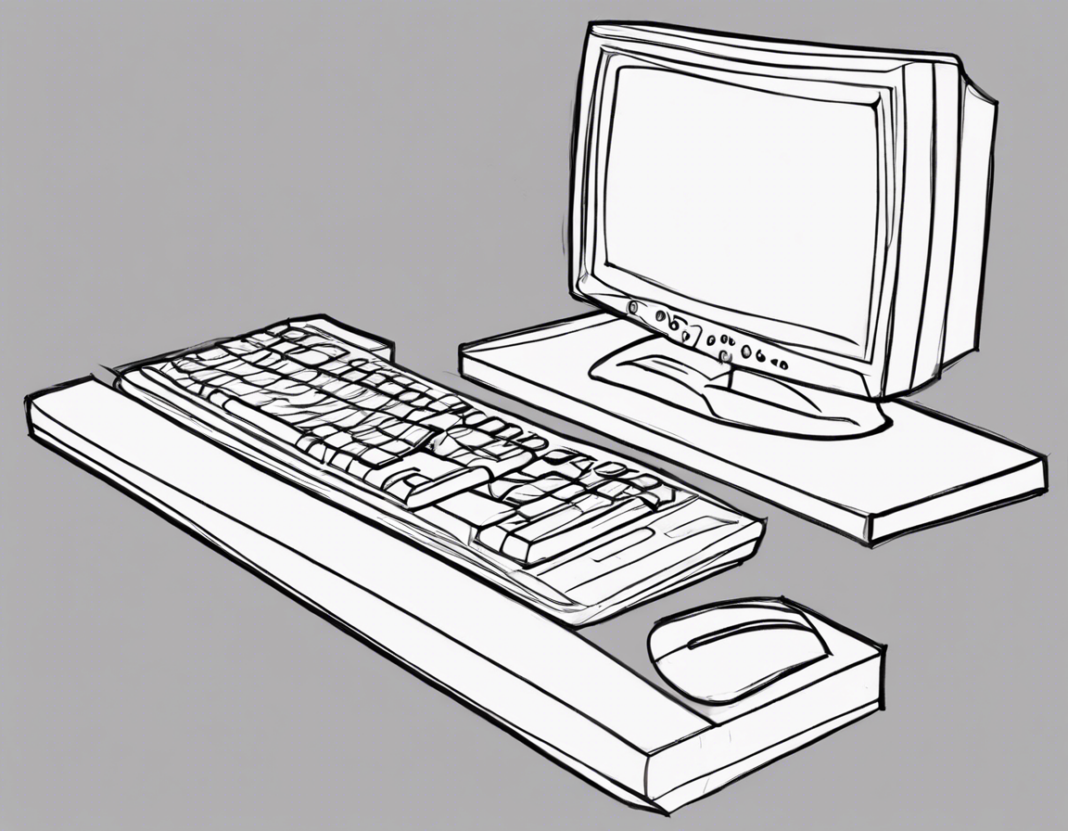
Are you looking to learn how to draw a computer, but not sure where to start? Drawing electronic devices like a computer can seem daunting, but with the right guidance and techniques, you can create a realistic and detailed image. In this comprehensive guide, we will walk you through the step-by-step process of drawing a computer from start to finish.
Materials Needed:
Before you begin drawing your computer, make sure you have the following materials ready:
- Drawing paper: Opt for a smooth surface paper to enhance your sketching experience.
- Pencils: A range of pencils from HB to 6B will give you the versatility you need for shading and detailing.
- Eraser: A kneaded eraser is recommended for its ability to lift graphite without leaving residues.
- Ruler: For creating straight lines and maintaining proportions.
- Reference image: Having a computer image to refer to will help you with accuracy in your drawing.
Step 1: Outline the Basic Shape
Start by outlining the basic shape of the computer using a light pencil. Remember to keep your lines light and loose for easy adjustments as you progress. Use a ruler to maintain straight lines and proper proportions. Pay attention to the screen size, keyboard placement, and overall dimensions of the computer.
Step 2: Add Details
Once you have the basic outline, start adding details to your drawing. This includes features such as the screen, keyboard, ports, and any other defining elements of the computer. Take your time to ensure accuracy in the placement of these details.
Step 3: Shading and Texturing
Shading is crucial to give your computer drawing a realistic look. Start by identifying the light source in your composition to determine where the shadows fall. Use a range of pencils to create different tones and textures on the computer surface. Pay attention to reflections and highlights to add depth to your drawing.
Step 4: Fine-Tune and Refine
As you progress with shading and texturing, take breaks to step back and assess your drawing. Make any necessary adjustments to proportions, details, or shading to enhance the overall appearance of the computer. Don’t be afraid to erase and redo parts that don’t look right.
Step 5: Final Details and Highlights
Once you are satisfied with the overall look of your computer drawing, focus on adding final details and highlights to make it pop. Add textures to the keyboard keys, ports, and any logos or branding on the computer. Use an eraser to create highlights on reflective surfaces for a polished finish.
Tips for Drawing a Realistic Computer:
- Practice Perspective: Understand the perspective of the computer to ensure all parts are proportionate and realistic.
- Focus on Details: Pay attention to small details like screws, vents, or buttons to add authenticity to your drawing.
- Use References: If you’re unsure about certain elements of the computer, refer to images or real-life examples for accuracy.
- Experiment with Textures: Try different shading techniques to create textures like brushed metal, glossy screens, or matte surfaces.
- Don’t Rush: Take your time with each step of the drawing process to achieve a detailed and realistic result.
Frequently Asked Questions (FAQs) on Drawing a Computer:
1. Can I use a tablet or digital tools to draw a computer?
Yes, you can certainly use digital tools like drawing tablets and software to create a computer illustration. The process may vary slightly, but the fundamental principles of perspective, shading, and detailing remain the same.
2. How can I make my computer drawing look more three-dimensional?
To make your computer drawing appear more three-dimensional, focus on shading to create highlights, mid-tones, and shadows. Pay attention to light sources and reflections to add depth to your illustration.
3. Should I draw the computer from a specific angle?
Drawing the computer from a slightly angled perspective can make the illustration more dynamic and interesting. Experiment with different viewpoints to find a composition that works best for your drawing.
4. What if I make mistakes in my drawing?
Making mistakes is a natural part of the drawing process. Don’t be afraid to erase and redo parts that don’t look right. Mistakes can also be valuable learning opportunities to improve your skills.
5. How long does it take to draw a realistic computer?
The time it takes to draw a realistic computer can vary depending on your skill level and the level of detail you aim to achieve. It could take anywhere from a few hours to several days for a highly detailed illustration.
By following these steps and tips, you can create a realistic and detailed computer drawing that showcases your artistic abilities. Remember to practice regularly to improve your skills and experiment with different techniques to enhance your illustrations. Whether you’re a beginner or an experienced artist, drawing a computer can be a rewarding and enjoyable experience.
